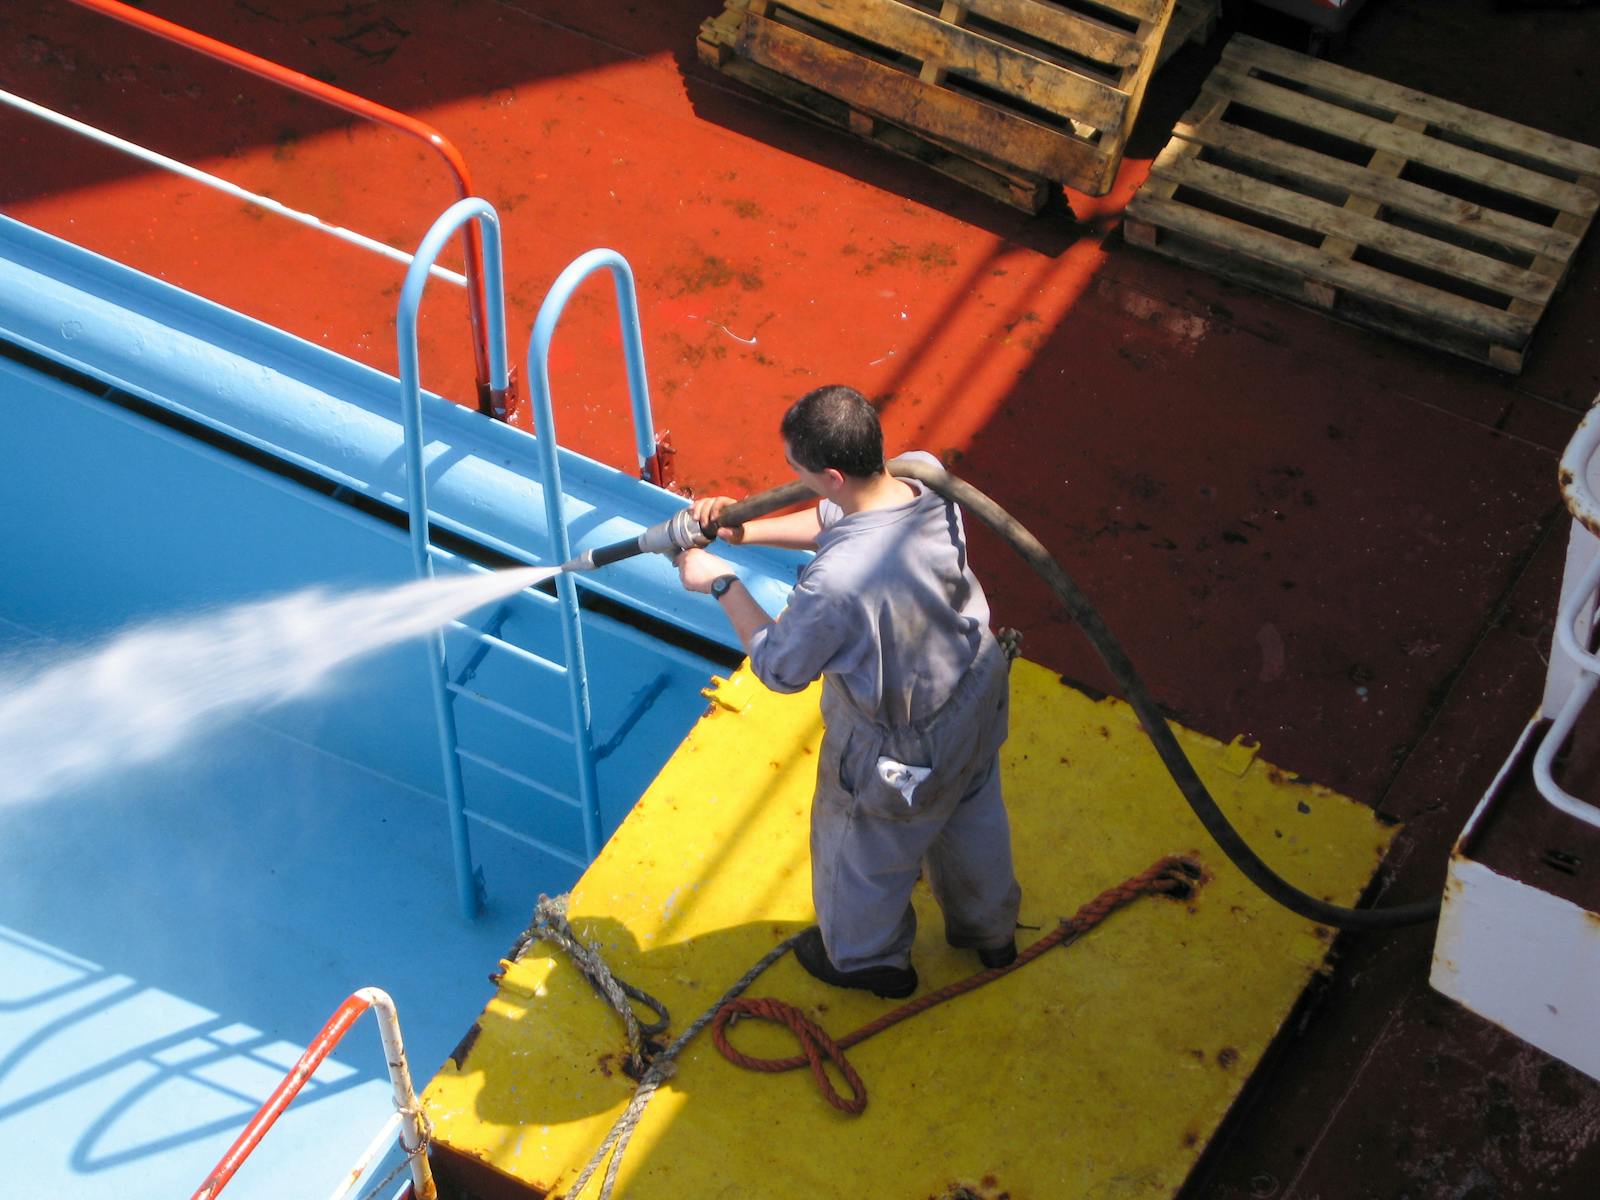
Power washing Playa Del Rey, also known as pressure washing, is an effective way to clean the exterior of a house, removing dirt, grime, mold, mildew, and other debris. A clean house not only improves curb appeal but can also extend the lifespan of the materials that make up the home. However, to achieve the best results and ensure the process is done safely and efficiently, it’s essential to prepare adequately. This preparation involves both practical steps for protecting your property and understanding how to use the equipment properly. Below is a comprehensive guide on how to prepare for house power washing.
1. Choose the Right Time for Power Washing
Timing plays a crucial role in power washing. The best times to power wash a house are during mild weather conditions—typically in the spring or fall when temperatures are moderate. Power washing in extreme temperatures, such as during the winter or summer, can cause complications. In cold weather, water can freeze, leading to potential damage to the house or equipment, while high temperatures can cause detergent to dry too quickly, leaving streaks behind. Additionally, try to avoid power washing when it’s windy, as debris and dirt might be blown back onto the freshly cleaned surfaces.
2. Select the Right Equipment
Choosing the correct power washing equipment is crucial to ensuring a successful cleaning process. For most homeowners, renting or purchasing a pressure washer with adjustable pressure settings is a good option. The power of the pressure washer is measured in pounds per square inch (PSI), and the ideal PSI for cleaning different surfaces varies. For example:
- Wood siding may require a PSI of 500 to 600 to avoid damage.
- Vinyl siding can typically withstand a PSI of around 1,200 to 1,500.
- Concrete or brick driveways may require a PSI between 2,000 and 3,000 for effective cleaning.
If unsure about the PSI, it’s best to start with a lower setting to avoid damaging surfaces. Additionally, make sure to have the appropriate cleaning solutions or detergents for specific tasks, such as mold removers for organic growth or degreasers for oil stains.
3. Clear the Area Around the House
Before beginning the power washing process, it’s essential to clear the surrounding area of any obstacles. Move furniture, toys, potted plants, or any other items that could be in the way. If your home has shrubs or delicate plants near the exterior, consider covering them with plastic sheeting or burlap to protect them from high-pressure water or cleaning solutions. Additionally, move cars or any other vehicles out of the driveway to ensure that water doesn’t splash onto them and cause potential damage.
4. Turn Off Electrical Sources and Cover Electrical Outlets
Water and electricity don’t mix, so it’s essential to take proper precautions when power washing around electrical outlets, light fixtures, and exterior outlets. Before you start, turn off the electricity to exterior outlets to prevent any accidents. You should also consider covering outlets and light fixtures with plastic covers or tape to prevent water from entering and causing short circuits. If your house has exterior electrical equipment or connections, it’s best to cover those areas with waterproof tarps to keep them safe from water.
5. Protect Windows and Doors
Windows and doors are particularly vulnerable to water pressure, which could cause leaks or even breakage. It’s important to either close and seal all windows and doors tightly or cover them with plastic sheeting or a tarp. Using painter’s tape around the edges of windows and doors can also help prevent water from seeping into these areas. Be cautious around window seals and door frames, as water could potentially enter the home, causing moisture damage if not sealed properly.
6. Inspect the Exterior for Damage
Before beginning the power washing process, inspect the home’s exterior for any damage, such as cracked siding, loose shingles, or peeling paint. Power washing with high-pressure water can exacerbate existing issues, such as lifting loose paint or causing cracks to worsen. Repair any visible damage beforehand to ensure that the pressure washing process doesn’t make it worse. If you’re not sure about potential vulnerabilities in the siding, it may be wise to test a small area first.
7. Use the Correct Nozzle and Pressure Settings
Different surfaces require different pressure settings and nozzles to achieve effective results without causing harm. Pressure washers come with a variety of nozzles, each designed for specific tasks. The common nozzle sizes are:
- 0-degree nozzle (red): High-pressure stream, useful for tough stains but can be dangerous and cause damage if not used carefully.
- 15-degree nozzle (yellow): Provides a wider spray with moderate pressure, suitable for tough grime.
- 25-degree nozzle (green): Ideal for general cleaning of exterior surfaces, including siding.
- 40-degree nozzle (white): Low-pressure spray, best for windows and delicate surfaces.
- Soap nozzle (black): Used for applying cleaning detergent to surfaces.
Using the correct nozzle and pressure setting will allow you to achieve a thorough clean while protecting the surfaces from potential damage. Always test in an inconspicuous area to ensure the pressure and nozzle don’t cause harm.
8. Safety Precautions
Power washing can be dangerous if not done properly, so safety should always be a priority. Wear protective clothing, including long pants, closed-toe shoes, and safety goggles to protect your eyes from debris and water. Gloves are also recommended to prevent your hands from getting tired or being exposed to harsh chemicals. If you’re using detergents or chemicals to assist in the cleaning, wear a mask or respirator to avoid inhaling fumes. Additionally, always keep a firm grip on the pressure washer wand to prevent recoil and accidental injury.
9. Plan the Cleaning Process
When you begin power washing, start at the top of the house and work your way down. This will allow water and debris to flow downward, preventing you from having to re-clean lower areas. Work in sections, rinsing each area thoroughly as you go. When cleaning the roof or higher surfaces, use a ladder carefully, or consider renting a scaffold to ensure your safety.
Preparing for house power washing is an essential part of achieving the best results. By following the above steps—choosing the right equipment, clearing the area, protecting windows and electrical components, inspecting for damage, and following proper safety precautions—you can ensure that the cleaning process is effective, safe, and damage-free. Taking the time to prepare properly will not only make the power washing process smoother but will also ensure that your home remains in excellent condition, ready to impress potential buyers or simply look its best for years to come.


